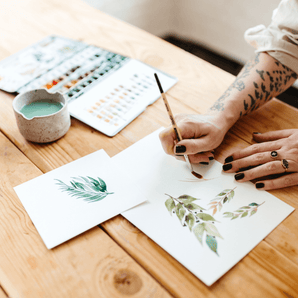
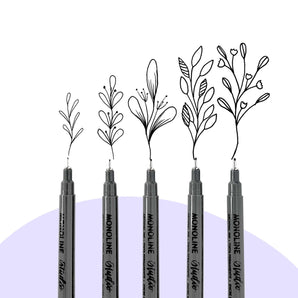
Happy Sunday everyone! I wanted to catch you before we ALL fall victim to a case of the Mondays and set you up with this perfect Sunday afternoon tutorial. This week I'm doing a tweaked version of a shadow tutorial using monoline lettering and some Tombow Dual Brush Pens. A lot of times you'll see lettering that's already utilizing a brush pen, but the tweaked part of this tutorial is that I'm using a monoline lettering. I'm using both the bullet and brush ends but using different shades for both.
The quote I'm using is a feeling that is one of my own! And it's near and dear to my heart, "Creativity is bravery in disguise" and I'm going to make it a simple and basic look because I'm not focusing so much on composition in this tutorial.
I'm freehanding my quote but definitely feel free to use a guide or start with a pencil if you need to. I've attached the accompanying tutorial video at the bottom of this blog as well!
If you're even more of a visual learner, check out the video version of this tutorial at the bottom of this post!
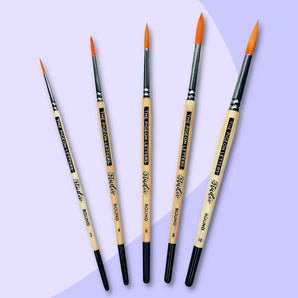
Supplies
Step 1: Begin Writing Out Your Quote with the Bullet Side

I highly recommend using the Tombow Dual Brush Pens for drop shadows because they seriously just glide in the hand and they make monoline lettering so, so gorgeous. Try using alternating colors between words so it gives your lettering a little more depth.

Don't stress on making your monoline lettering perfect, the imperfections make your lettering look more handmade and unique. So just go for it and see where it takes you! But again, feel free to start with a pencil in case you're worried you'll need to make some adjustments. No shame in the game.
Step 2 (Optional): Swatch Colors in Order to Pick the Perfect Shadow Shade

This is a super useful step for those of you who don't want to just commit to a color right then and there. If you swatch at the top of your paper or even on a separate sheet, it'll help give you peace of mind that you've made the right choice. Yay for creative choices!
Step 3: Use the Brush End in a Different Color and Outline Your Quote

You want to use a color on the brush end that's lighter than the color on your bullet end. This way your bullet end lettering doesn't get washed out by the brush end lettering. I love using this method because it really makes your lettering pop with color without you really trying!
I'm focusing on only the right side of the lines I made with the bullet tip and placing the shadow there.

... BAM! All done! Yes, it really is THAT easy! You're left with some beautiful lettering that only took you a few minutes. Don't you love it when it's that easy? I know I do! Feel free to add any graphics or cute little symbols around the edges.
Side note: I know I totally left out the words "is" and "in", big oops. That's honestly just my brain, shoutout to all my chaotic creatives, we're in this together! I ended up sliding those in there at the very end. Below is my REAL completed version, heh.