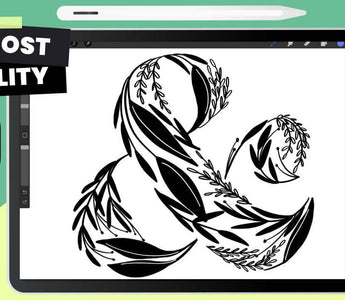
Previously, I showed you a comparison of different resizing results in Procreate based on interpolation. Today, I'm going to show you my favvvv way to resize line art in Procreate without losing any quality. That's right, no quality loss here thank you!
I'm starting off with a 6,000 x 6,000 px canvas and importing an image that is much smaller.

If I try to enlarge it, you can instantly see that the quality and sharpness of the artwork will be lost and we don't want that, no no.

So here's how to avoid! And this part's important, so listen (or read) closely. The layer that you have must have a background on it. Next, head to Gaussian Blur and bump it up to 3-4% (stick to 5% max), to smooth out the pixels.
Next, head to Curves and we're going to do some quick magic.

Drag the top anchor point to the left, and the bottom one to the right, so you end up with something like this:

Pro tip: do this with your artwork slightly zoomed in so you can see how sharp your lines are getting, giving you the ability to stop once you reach the level you're happy with!


