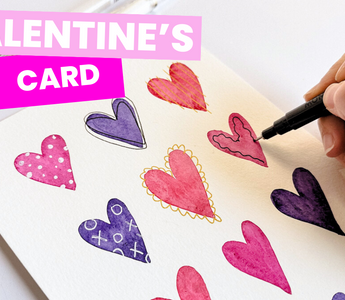
Valentine’s Day is quickly approaching, and what better gift for your pals and partners than a handmade watercolor painting that is bursting with love! I will walk you through this quick and fun process so that you have one of a kind piece of heart art. Let’s get started!
Supplies

- Watercolor paper
- Watercolors (red, pink and purple)
- Round 8 brush or smaller
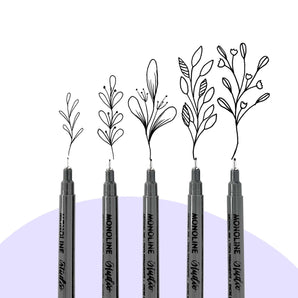
- Black monoline pen
- Gold and white gel pens
- Clean water for rinsing
Step 1: Paint a grid of watercolor hearts

Using your watercolors, you are going to fill in your watercolor paper with hearts in a very loose grid pattern. The paper I used was 6 x 9, so I chose to do a row of 3 hearts across and 4 hearts going down. Adjust the number and size of the hearts depending on what size paper you are using!
Paint the outlines of the hearts with the tip of the brush, and then go in and fill it with broader brush strokes. If you find that you are having trouble keeping the shape of the heart, feel free to go down a size! A size round 2 or 4 will work just fine!
Be sure to alternate the colors in a varying pattern while you work your way through! Once you’ve painted your last heart, set it to the side and let it dry before moving on to the next step.

Watch the video walkthrough below!
Step 2: Add flair to your hearts using your pens

Once your watercolor hearts are all the way dry, grab your pens and start adding designs! Alternate between gel pens and the black monoline pen and get creative. You can add polka dots, stripes, hearts, XOXO’s, someone’s name, squiggles—the possibilities are endless!
Once you’ve added designs and patterns to every heart, you’re done! I hope you enjoyed this quick and heartfelt Valentine’s Day project. I can’t wait to see what you create!

Meet Julie!

While she spends her days (and nights) in the trenches of parenting, Julie somehow finds time to create art and loves to share it with you! She loves when art reminds her of life: weird and wonderful.
Connect with Julie on Instagram 🎨 and check out more of her tutorials here.


