Whether you take your sketchbook on your next vacation, or want to indulge in wanderlust from the comfort of your home studio, read on to learn how to combine both wet and dry mediums to create a unique travel sketchbook piece!
It’s Alicia here from The Pigeon Letters Design Team with a tutorial featuring my favorite subject: travel! I’ve just returned home from two glorious weeks in Morocco where I captured so many memories of my trip in my travel sketchbook and now I’ll show you how you can do the same. Yallah! (That’s Arabic for let’s go!)

Supplies:
• Watercolor or mixed media paper
• Flat wash brush, up to 1”
• Round brush, size 6 or 8 (an alternative to the flat wash brush)
• Small round brush or liner brush for details
• Watercolor paint
• Colored pencils
• Water cup, rag or paper towel, paint palette
• Reference image
• A cup of Moroccan mint tea (optional, but it’ll help you feel like you’re really there!)
Step 1: Sketch the Scene (Optional)
I don’t always pre-sketch out my travel sketchbook pieces because they’re meant to be more informal and loose, especially if I’m creating them on location. However, if you feel more comfortable sketching out the scene before diving in with paint, go ahead and do that now. Lightly sketch out only the main shapes of the scene; we’ll refer back to the image when it comes time to add details so you don’t need to sketch them.

Loosen up with your sketching and embrace imperfections. Grab a copy of Mindful Sketching.
Step 2: Paint a Light Base Layer
Use your flat wash brush to begin (lightly) color blocking. This is your base layer, so focus on the larger shapes. In this scene it’s the building exteriors, rooftops, the mosque, the mountain, and the sky. The wash brush forces you to move quickly and not spend much time on perfection - remember, travel sketchbook pieces are worked rather quickly so we can get back out to explore!

I’m using a watery mix of raw sienna (yellow ochre also works) and Naples yellow to block in the building exteriors and the Mosque, while the rooftop closest to the foreground is just watery raw sienna. The remaining rooftops and mountains are a watery blend of greens, like deep sap green and green gold. Finally, the sky is a very watered down ultramarine blue.
Prefer watching the tutorial?
Step 3: Add Large Shadows
I find shadows to be the unsung hero of a watercolor scene; sure, details are what make a piece feel complete, however shadows add a sense of depth and realism to even the most informal and messy paintings.
I took this photo just after sunrise, so the light source is coming from a low angle over my right shoulder. This means the left side of the buildings will fall into shadow, so we’ll use a technique called ‘glazing’ to darken those areas. Glazing uses at least two layers of watercolor paint to build up color in a specific area and is a great way to add a slight shadow without making the piece look too dark.

Add a bit more pigment to your raw sienna and green mixtures, then use the flat wash brush or one of the round brushes to slightly darken the two green rooftops, plus the partial shadow on the foreground rooftop.
Step 4: Add Colored Pencil Details
Using coordinating (but slightly darker) colored pencils, add simple line details around the scene to pull everything together. Starting with the most foreground rooftop, use a goldenrod or ochre pencil to draw evenly spaced vertical lines, followed by a series of small c-curves, or scallops, to depict the individual curved roof tiles. Refer back to the photograph to get the perspective just right and repeat this process on the green rooftops with a green pencil.

Use a dark beige or ochre pencil to add lines on the corners of the houses and on the mosque, once again referring back to the photograph for placement. Use the green pencil to sketch in a few tiny evergreen trees and some scribbles on the mountain range in the distance.
Step 5: Add Final Watercolor Details
For each of the rooftops, take a bit of the color you used for the shadow glazing layer and with the flat or round brush, dab the paint along the right side of each vertical rooftop line. This creates a shadow on the curved tile that’s facing away from the sun. Take a bit of your building exterior mixture and add a small bit of burnt sienna to darken it slightly, and dab it under the edges of the rooftop tiles that overhang, creating a shadow on the building exterior.

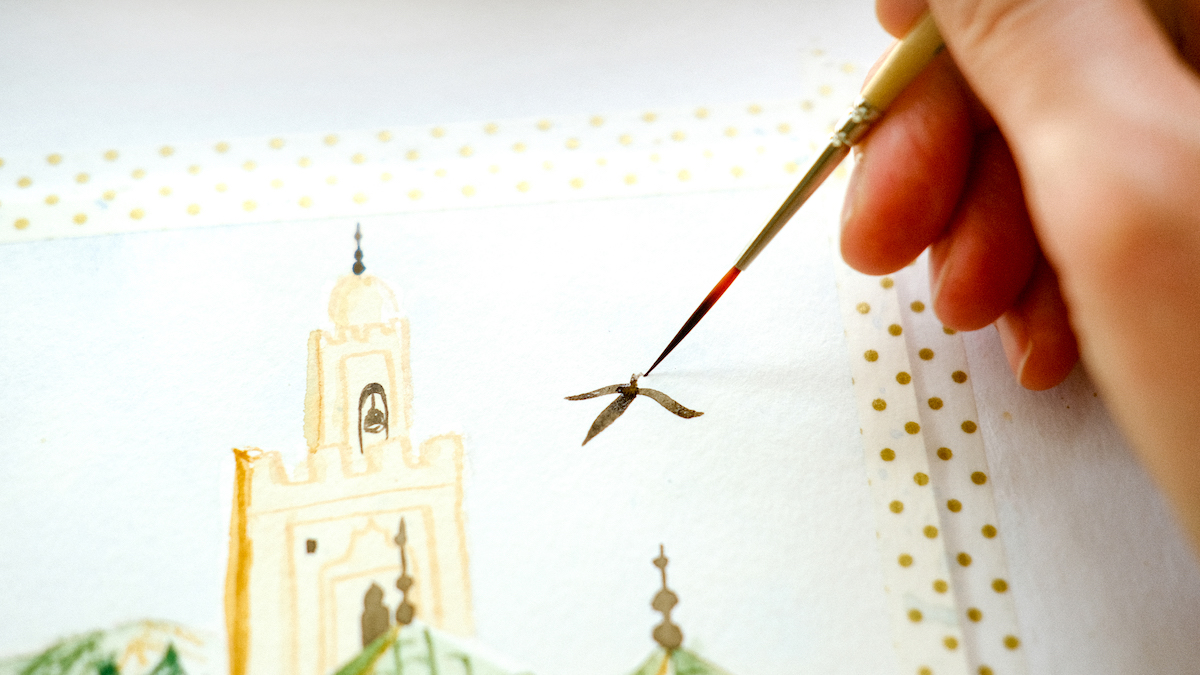
Switch to a small (size 2) round or liner brush. Using sepia (or a slightly watered down black) add rectangle windows on all of the buildings. Make the rectangles decrease in size as you move further to the background. Continue with sepia and your detail brush to add the spires atop the houses and the mosque, as well as the keyhole cutouts in the mosque. Finally, add a whimsical little birdie in the sky.


If you give this tutorial a whirl I’d love to see your results! Tag @thepigeonletters and @thealiciabruce or #TPLalicia so I can see and share. Have a sparkling day!

See all of Alicia’s tutorials on the blog!
Alicia is a 30-something photographer and artist with a love of color and a refusal to act her age. She favors a mix of pastel and bright colors, reminiscent of southern California and the 1960s, and is inspired by her travels around the world, wildflowers that might have been found in a hippie's flower crown, and lettering that has a little bit of flair to keep it whimsical.
Pin this tutorial for later because why not?!


