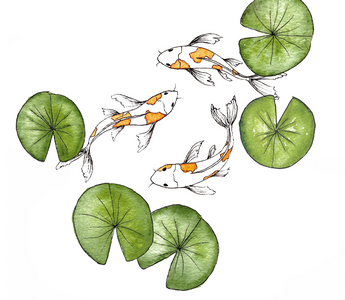
Unless we're diving or viewing a majestic aquarium setup, we mostly see fish from above. One of the most elegant, graceful fish is the regal koi. They can be found in peaceful water gardens and ponds all over the world. There's actually not a natural habitat for koi, as they were originally bred from the common carp in the 1800s for domestication in Japan and used for decorative purposes and food.
Today, they're not often eaten but rather kept for their beautiful color varieties and as companions. Yep—companions! It turns out they're quite friendly.
Step 1: Draw an S-curve

Begin with an S-curve, focusing on a large curve at the top. This will be the starting point of your cute koi.
Step 2: Draw another curve

From the top, curve outward in the opposite direction, creating another S-curve. This line will taper inward so the bottom is very narrow. Your koi fish is starting to take shape!
Step 3: Draw the tail & fins

There are three areas to focus on when drawing fins on koi from above. Just under the widest area toward the top, draw two C-curves on each side.
Do this again just under the middle of the fish. The top C-curves in each set should be a bit longer than the bottom ones. At the bottom, draw two long C-curves that arch outward. Now, instead of another set of C-curves, create a small V-shape just inside the bottom two C-curves.
Step 4: Add marks to create texture

Connect the two C-curves in each section with a jagged line.
Now, use your mark-making skills to create some texture in the fins. Starting
from the body, flick your pen downward in the same angle that the fin is traveling. Think of this as guided hatching. Add more depth near the body and get wispier toward the end of each fin.
Step 5: Bring the koi to life

It's time to make this fish come to life!
Add two oval-shaped eyes toward the top of the body. Add two whiskers coming from the top of the fish with two small C-curves. These little whiskers are actually called barbels (and barbels have tastebuds, so koi can taste things without even opening their mouths!).
Draw a very light curved line across the widest point of the fish, accentuating where the head meets the body. Now draw a center line that follows the S-curve of the body. Draw another line right next to it, connecting to two points at the top and bottom.
Step 6: Add finishing touches

Even in black line only, you can suggest the bright color patches of a koi simply by adding jagged roundish shapes across its body.
Optional: Add some color!

Try using spot color. Some koi fish have lovely orange and sometimes black markings, so let's apply orange only to enhance them.
Watch, now you're going to be drawing fish all the time. Forget the mermaid idea. You're welcome.
Not done drawing? I got just the book for you.

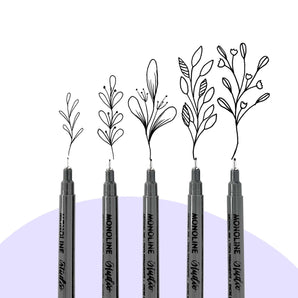
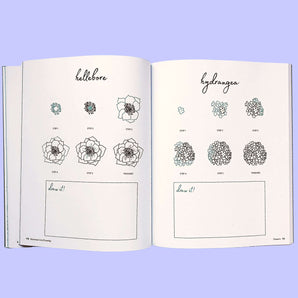
My best-selling Botanical Line Drawing book will be a perfect step-by-step to drawing a ton of flowers and other elements found in nature (so you're not stuck drawing daisies all day long). And if you need a perfect drawing tool, grab the Monoline Studio Pens - they have become a fan favorite of many artists!


Loved the fish thank you 🙏