Are you ready to find your creative flow with an abstract watercolor tutorial? Today we are going to be creating a beautiful piece of abstract art using watercolors and line drawing. This colorful, mixed media tutorial is going to allow you to get in your artistic flow and create a low-stress work of art!
I’m Julie (@harp_and_crow on Instagram) and I can’t wait to share this project with you. I am going to walk you through it step-by-step, but you can also watch the video tutorial instead. I think that finding a way to find your flow while painting is so important! I can’t wait to see what you create! Let’s get started.
Supplies 
- 12” x 12” sheet of watercolor paper
- Watercolor brushes – size Round 10 & Round 2
- Gel pens – white and gold
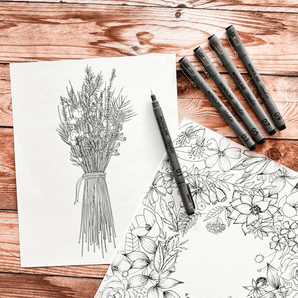
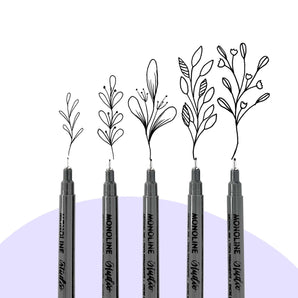
- Black monoline pen – size 03
- Watercolor – Indigo, Burnt Sienna, Perylene Green
- Opaque white paint (optional)
- Clean water for rinsing
Prefer watching the tutorial instead?
Step 1: Paint a Sheet of Abstract Shapes 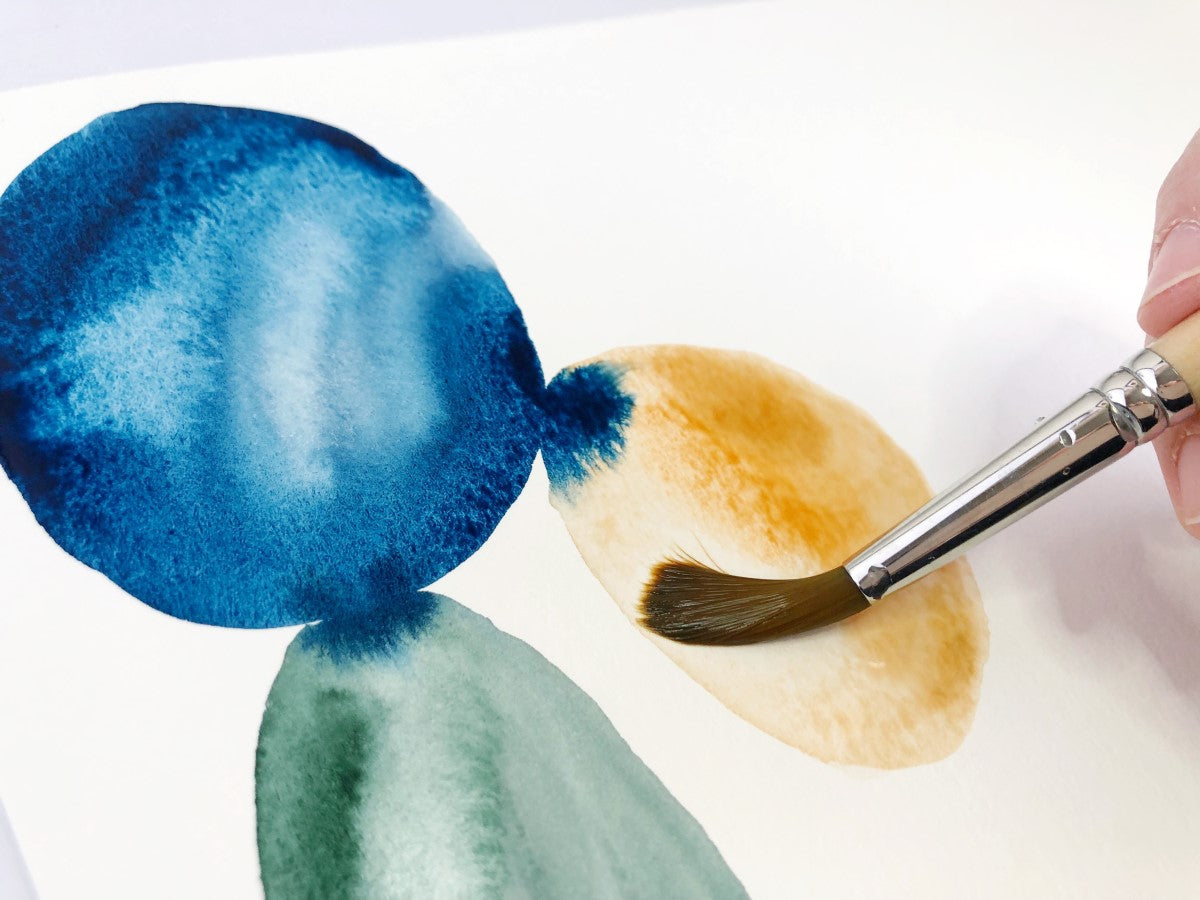
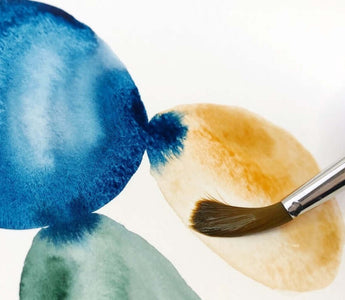
Starting in one corner of your paper, you are going alternate your colors to create a page full of organic, abstract shapes. Your shapes will be round and circular, like rocks. You are going to leave about half of an inch of white space on the border of your page. Feel free to tape this off with washi tape, but I like the imperfect look of letting the shapes create the border.
To create interest in the piece, you are going to vary the saturation of each shape by using more or less paint. Slightly touch one shape to another to allow the colors to bleed into each other. Use plain water to create a “clear” shape when you are alternating your colors. Touch these shapes to another, saturated shape and allow those colors to bleed into it. You can also use dots of color or plain water on the wet paint to create texture as well.

Once you have filled your entire sheet with your abstract shapes allow it to dry completely before moving on to the next step! If you’d like to speed the process along you can use a hair dryer, or use the time to paint a second sheet and keep your flow going!

Want to grab yourself *the best* cruelty-free paint brushes? Go on.
Step 2: Create Lines and Abstract Marks 
This next step is a personal favorite of mine! There is really no way to mess this part up because you are just going to be using your artistic instinct to add marks to your painting.
Start with your black monoline pen and add some line work to a few of the shapes. You can keep these lines vertical, diagonal or horizontal, depending on how much movement you want to add into your piece. 
Using the rest of your tools, you will add embellishments to about every other shape. Line some with gold gel pen and use your opaque white or white gel pen to add dots and lines. Using your round 2 brush, add some off-set Indigo circles over a few of the lighter shapes. The sky is the limit here!
And that’s it! You have found your artistic flow and created a beautiful piece of abstract art.

If you try out this tutorial, let me know! Tag me on Instagram because I would love to see your work. Thanks for creating with me today!

Julie is a self-taught artist living in Central California with her husband & three daughters. She rekindled her love of art during the most trying years of early motherhood and has found a passion for helping others ignite their creative spark. Check out more of Julie's tutorials on the blog!


