Ever wanted to learn how to make your own shimmery paint? Well, I got you covered! Please join me in learning how to make your own handmade gold watercolor paint using only a few ingredients and steps. This is a very fun and satisfying activity that you will love!
Hi! I’m Stacey Dodd from the Pigeon Letters Design Team and I am obsessed with pigment and color! I love to paint with watercolors alongside making my own watercolor paints. I am based in New Zealand, or as I like to call it, Kiwiland!
- Size 2, 4, and 6 round paint brush
- 2 jars of water – 1 for rinsing dirty water and 1 for clean water
- A palette knife (any size or kind) or blunt knife
- Binder/Gum Arabic Solution (can be purchased from most art stores)
- Plastic spoon or measuring spoon
- Paper towel or rag
- Gold Mica pigment (can be purchased from most art stores)
- Cold press watercolor paper
- A pencil and eraser
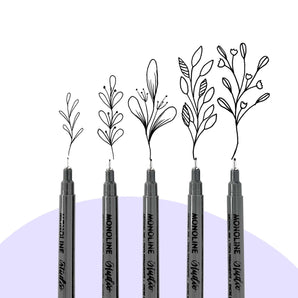
- A waterproof pen
- A surface to make the paint on – i.e. ceramic plate, glass platter, tile, bowl
Want to follow along?
Step 1 : Mix the Pigment and Binder Together
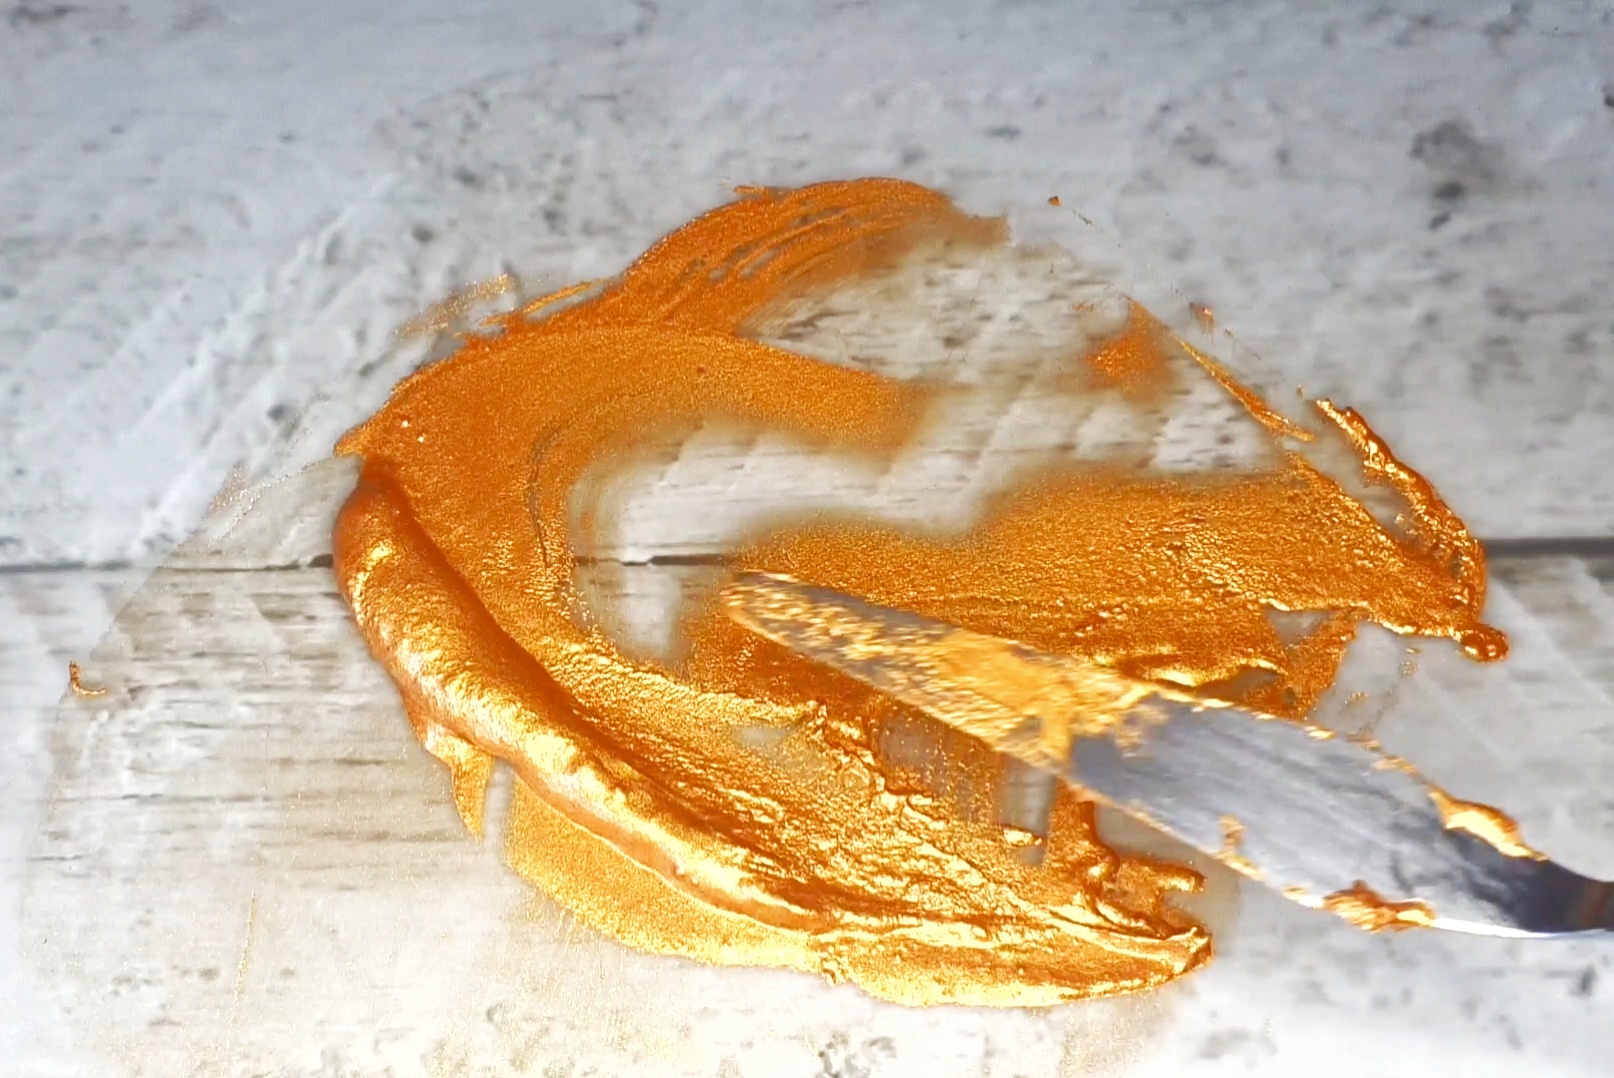
You need to mix the pigment and binder together on the flat surface using your palette knife. Make sure that it is a consistency that matches that in the video.
Hot tip: The consistency should be not too runny, nor too thick.
Step 2 : Test the Paint
You need to test your paint before storing it. You need to use a paintbrush to pick up the paint to apply it to the watercolor paper. Then allow the paint to dry to see its genuine color.
Hot tip: Write the date and type of pigment next to your swatch to refer to.

Step 3 : Store the Paint
Once you are happy with the way the paint is applied to the watercolor paper, you can then store the paint you made in a pot of your choice. In this tutorial, I have used shells. You can use empty pans, bottle tops, shells, a small container or jar.

Step 4 : Paint Doodles
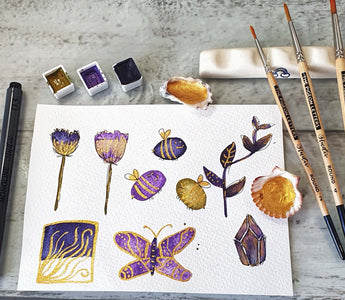
Before we jump into using your gold paint, let’s first paint some fun doodles with a few matte colored paints. You can choose your own colors. I chose a green, and two different shades of purple for contrast.
Hot tip: Make sure that your painted doodles have fully dried before moving onto the next step.

Step 5 : Accent the Doodles with Gold Paint
Now the fun begins! Let’s use your gold watercolor paint and add some details to your painted doodles. Follow along with me or have fun and add your details in a different way!
Hot tip: Make sure your shimmer paint has been pre-wetted well. Allow at least 1 – 2 minutes for best tinting strength.

Step 6 : Add Detail to Your Doodles
Ensure that your painting is dry. You can use a hairdryer or heat tool to speed this up or have a cuppa tea or coffee while you wait!
Once dry, you can add your details using a pen as I have or anyway you like!
Hot tip: Make sure the pen is waterproof.

I hope you had loads of fun today making your own gold paint and I would LOVE to see it so please tag me @stakiwicolours and the @thepigeonletters

See all of Stacey’s tutorials on the blog!
Stacey is from New Zealand, based in the upper North Island. Before having her son, she was a primary school teacher. When her son was born with complex needs, Stacey dived into art as a form of art therapy. She enjoys working with acrylic and watercolor paint. Stacey discovered her passion for making watercolor paint 4 years ago and has been obsessed ever since. She enjoys teaching others how to make watercolor paints through her online and in person workshops, as well as her blog. Stacey loves color, loves the art community and of course kitty cats!

