I love making personal cards, gift tags and place cards for holidays and special occasions! Sometimes it’s hard to come up with something that’s quick and easy, but still fun and festive for your friends and family. Today I’m going to teach you how to paint some mini berry bouquets with watercolor that are perfect for pretty much any season and any occasion! We will paint colorful berries, different types of leaves and a couple fun “fillers” in different tones to complete your bouquets. This class is great for beginners but also fun and meditative for more experienced artists.
Hello! It’s Cris here from the Design Team and I love painting watercolor berries! They are one of my “go to” things to paint along with leaves. So I thought, why not combine those things into fun mini bouquets for the holidays or other occasions! The great part is that we will cover basic leaf shapes, pine, holly and other fillers, along with layering techniques so you can use these skills for all your painting projects! Let’s get started!
Supplies:
- Watercolor Paper (140 lbs cold pressed)
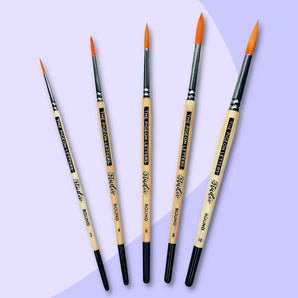
- The Pigeon Letters round watercolor paint brushes (sizes 10, 6 and 2)
- Watercolor paints (any paints you like! I used Winsor & Newton crimson, scarlet lake, permanent rose, permanent magenta, sap green, green gold and indigo)
- Clean water and paper towel for blotting
Prefer watching the tutorial instead?
Step 1: Paint Pink Berries

Our first step is to paint a couple saturated, pinkish berries with our size 6 brush (see A). I always start with a small set of berries before I add any greenery. I used a mixture of crimson and permanent rose to keep this little bouquet kind of springish, but feel free to use any color you like!. After I have two dark berries, I clean my brush and make another berry purely from water. I touch one or both of the darker berries to get a nice bleed, but it still keeps the third berry much paler (see B). I usually start with about five berries of differing sizes before I add leaves. Use your size 2 for the smaller berries.
Important Tip: If you leave a little white space on one side of your berry, it gives the illusion of light hitting that side.
Step 2: Paint Simple Leaves

Next paint some simple, one or two stroke leaves. I used a mixture of sap green and green gold to get a springy hue. If you try a two stroke leaf, try rinsing your brush after the first stroke and just using water for the second stroke. Connect with that first stroke at the top “bottom” and “top” of your leaf, leaving some white space in the middle. This gives you a nice bleed and also gives the illusion of a center vein. Try a few light leaves using mainly water and a few dark leaves using only sap green too!
Step 3: Fill in Additional Berries and Leaves

Finally, fill in some additional dark berries with full pigment and some lighter ones using only water just like we did before. You can “hide” a berry behind a dry leaf by painting a little semi-circle right up against your leaf. You can also layer darker leaves behind lighter ones (if those lighter ones are already dry!) in the same manner. This gives interest and depth to your bouquet. I kept this little bouquet pretty simple and not too overcrowded. You can add more berries or leaves to your heart’s content!
Important Tip: I keep my bouquets somewhat asymmetrical and paint an odd number of berries to add interest and to keep the eye moving!

If you're looking for some more watercolor inspiration, Peggy Dean's Guide to Nature Drawing & Watercolor will keep the momentum going!
Step 4: Paint Crimson Berries

Let’s start a new mini bouquet with more of a holiday feel! I mixed scarlet lake and crimson to get a fairly traditional holiday red here. Let’s start the same way, with some darker and lighter berries.
Step 5: Paint Long Leaves

Let’s paint some traditional leaves, but elongate them here to switch things up. Just extend your stroke and make some single and double stroke leaves here. I used my size 10 brush for these and I’ve started with sap green and added a little indigo blue for a darker, more holiday-ish hue here. Start with just a few so we have room for pine.
Step 6: Paint Pine

Adding some pine to this bouquet will give it a real winter vibe! I added a little more indigo to my paint and I started with a long thin stroke for the center of the pine. I used a size 2 here for more precision. Once you have that, you can go back in and sweep out some pine needles from the center vein. These are quick, gestural strokes so don’t worry about making perfect lines here! Feel free to paint right over top of any leaves or berries that are dry to get that layered look! You can go back and darken the centerline of the pine if it gets lost while painting the needles.
Important Tip: After you paint your needles, you can go back with a dry brush and brush them out to get a wispy look to your pine. You can also go in with some water on your brush and “mush” over your needles to give them a less structured feel.
Step 6: Paint Additional Berries and Leaves
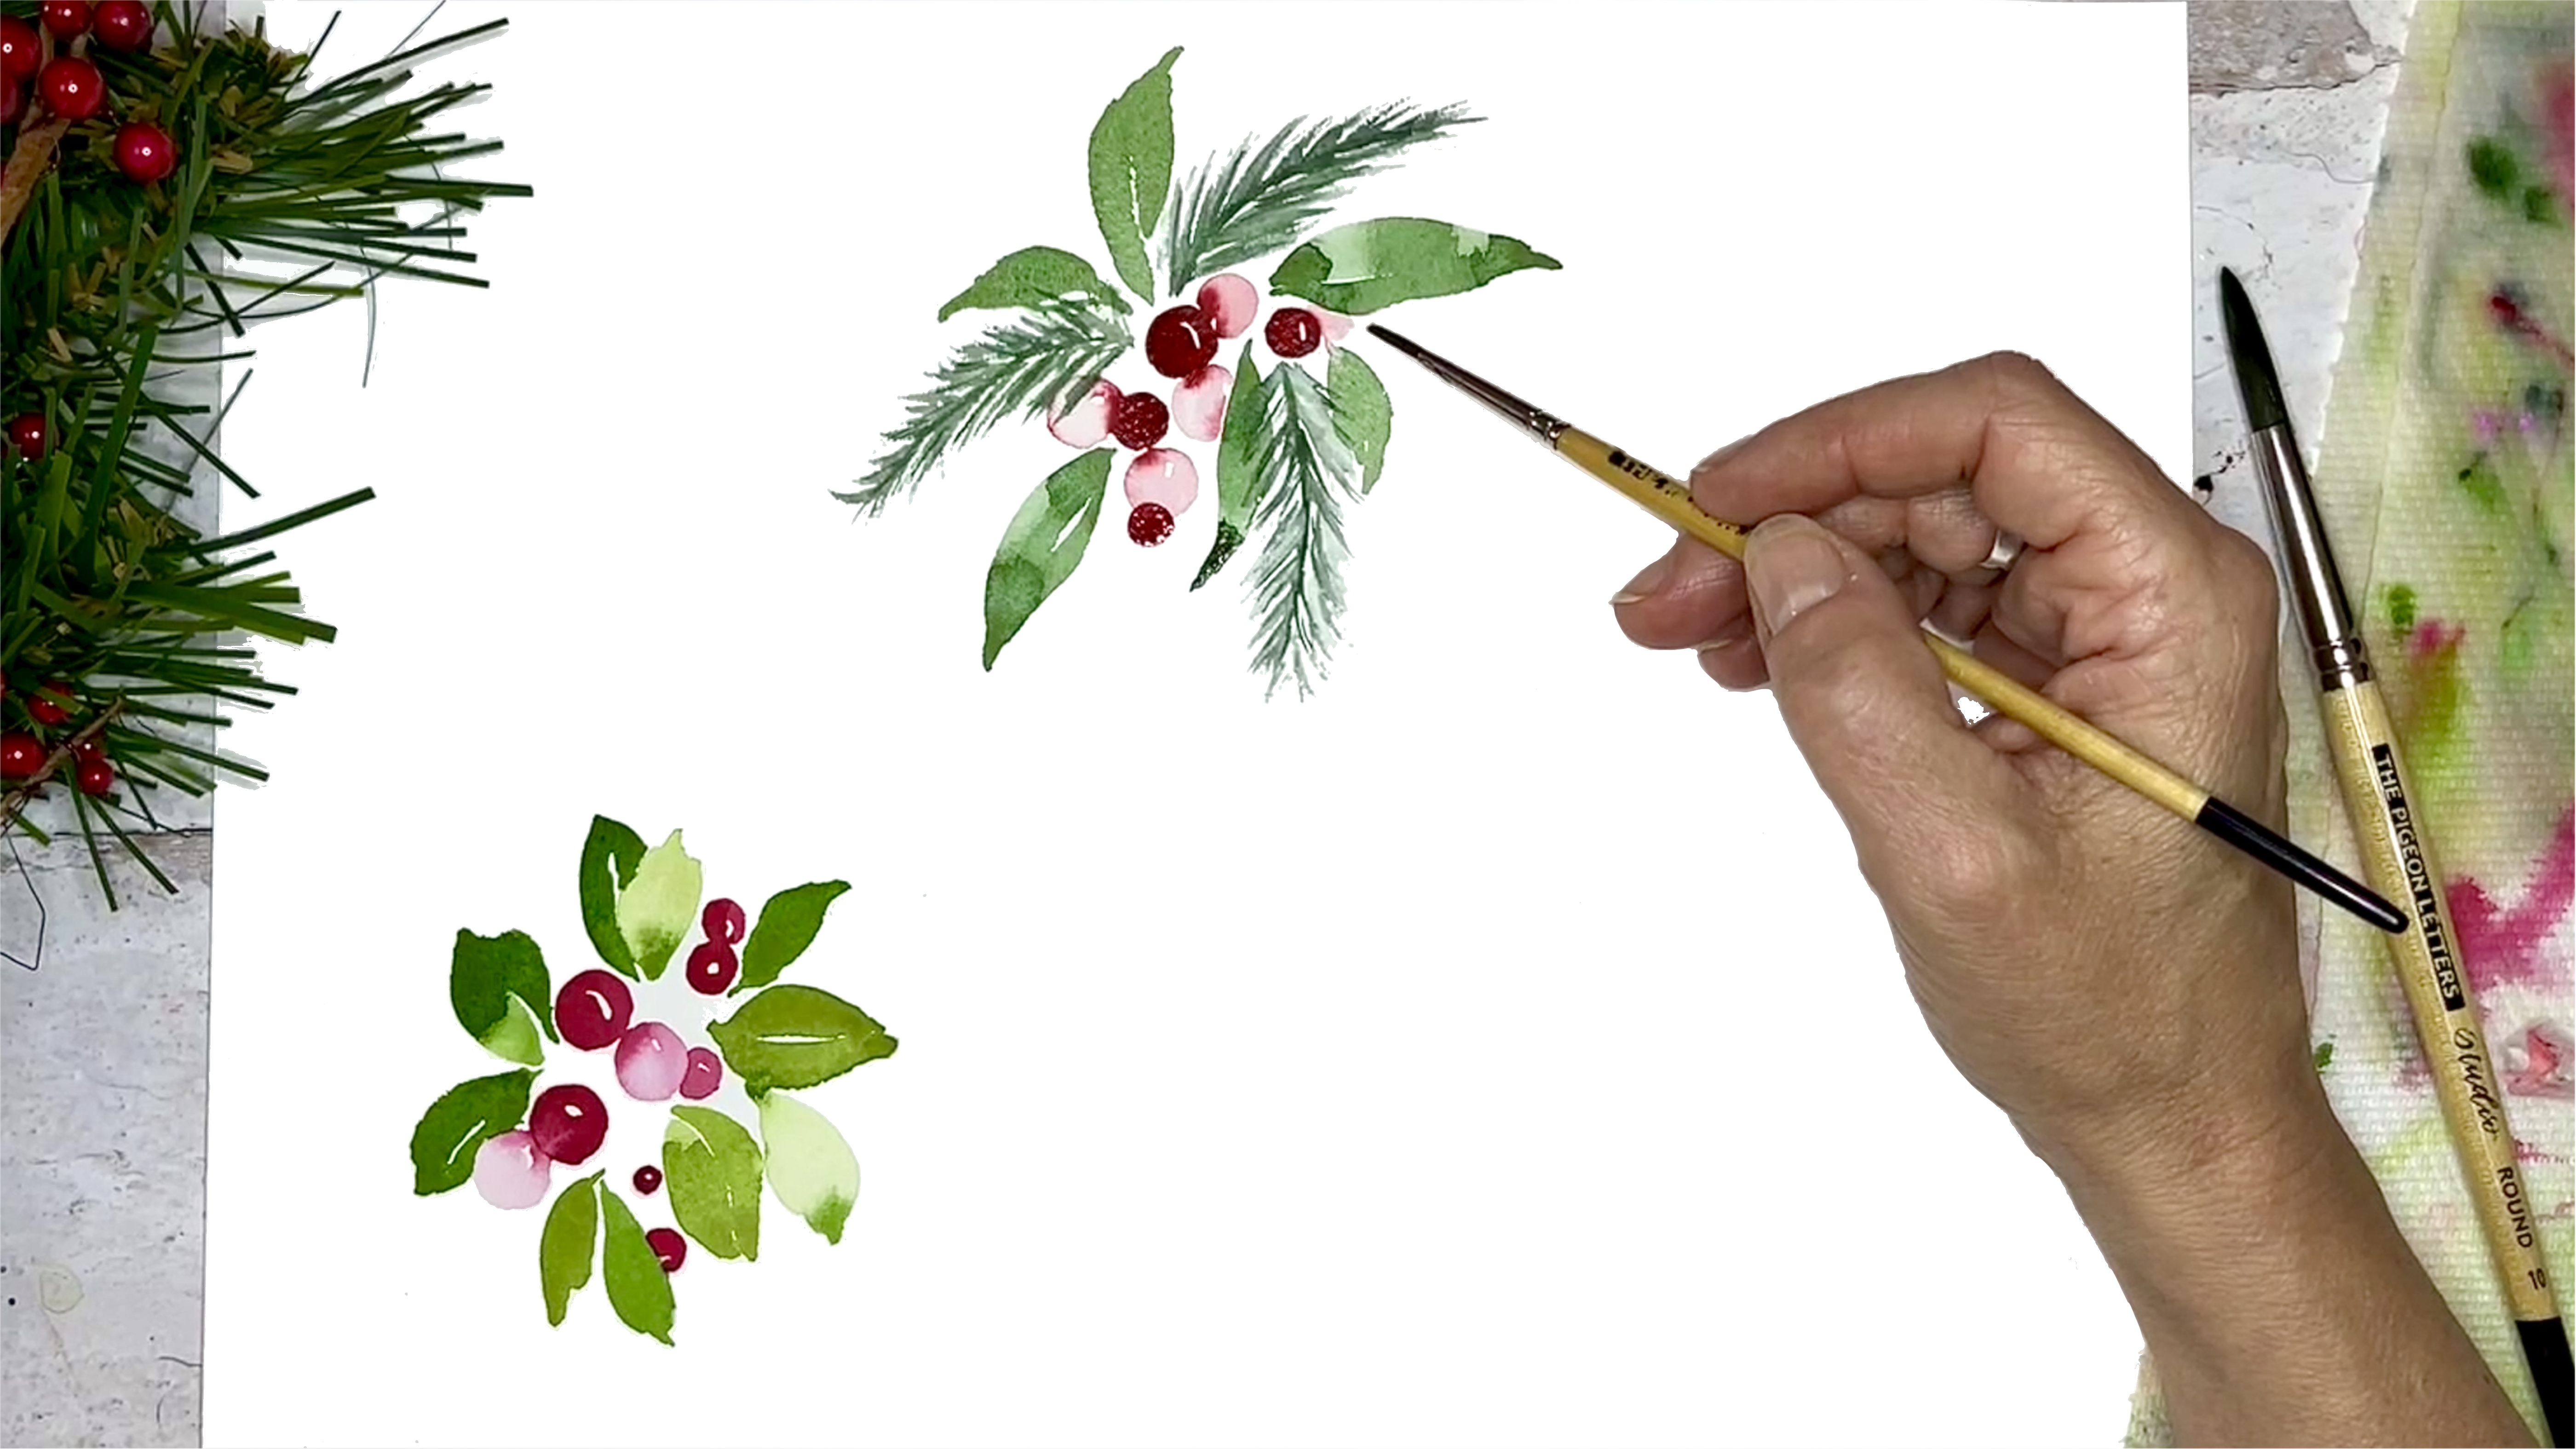
Just as I did with our first bouquet, I added more berries and a few smaller leaves to fill out our bouquet. You can tuck them behind ones you have already painted or even layer some dark berries overtop of existing pale ones. Now let’s move on to our final bouquet!
Step 7: Paint Magenta Berries

For our last bouquet, I mixed my crimson with some permanent magenta! I started with three main berries here (two dark and one pale), using a size 6 brush.
Step 8: Paint Holly Leaves

Let’s add three holly leaves to this bouquet! I used a mixture of sap green, indigo and a little of the magentaI we are using for the berries.
Important tip: If you want your berry (or floral tones) to coordinate with your leaves/greenery, add a little of those tones to your greens!
I started with the two little curves closest to the center of the bouquet. Next I added one “side” curve and a curve out to the tip of the leaf (see 1). I finished by connecting the curves on the other side. I filled the center with water and allowed all the edge color to bleed in rather than adding more pigment to the leaf (see 2). This leaves the edges darker than the center and I like that effect!
Step 9: Add Some Flicks? Sprigs? and Additional Berries

I don’t know what to call these little fillers other than sprigs or flicks. They are just little marks that spray out and they make a great filler for bouquets. Try making them different lengths and with differing green tones. It’s totally okay if your bouquet gets a little wonky! I think this makes it all the more fun! Finally, add in those additional layered berries and some smaller little sprigs to balance out your bouquet a little. You can add center veins to your holly leaves too if you like!
I sure hope you enjoyed this tutorial and I would love to see berry bouquets! Share them on instagram and tag @thepigeonletters and @sweetseasonsart! You can also access my Skillshare classes and YouTube channel from my website. Happy painting!

See all of Cris’ tutorials on the blog!
Cris is a self-taught artist living in Richmond, Virginia. She works in watercolor (her first love), gouache and digital design. She gravitates to botanicals, but loves painting along with the seasons and trying new subject matter like food, buildings and birds!


