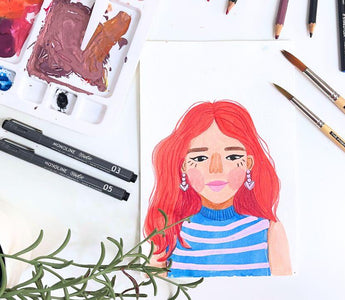
A self-portrait is fun way to practice face features, and also they make the best of profile pics in social media if you are an artist. In this tutorial, we'll be exploring how to create a self-portrait using Mix Media, like gouache, colored pencils and ink pens. Hi, I’m Doriana, and illustrator who loves color from the Dominican Republic, and part of The Pigeon Letters Design Team. I’m here to help you be confident in creating art just for fun!

Materials:
- Watercolor paper
- Gouache paints
- TPL Studio Brushes #4 and #8
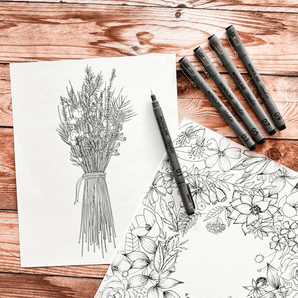
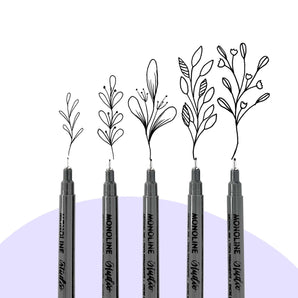
- TPL Monoline studio pen
- Colored pencils, paint markers, crayons and any other media you fancy
- Pencil and eraser
- Reference photo of yourself
Pssst...wanna watch the video tutorial?
Ready to create a cute portrait of yourself?

Step 1: Choose a clear reference photo
Select a reference photo of yourself that you like and that has good lighting. This will make it easier to see the details of your face. If you don’t like your outfit or accessories, don’t worry. Look for references on earrings, head pieces or shirts you like or want to have in your self-portrait.

Step 2: Study your face
Before making any marks on paper, study your face first. Is your face round? Do you have a square jaw-line? Are your eyes big or small? What about your eyebrows, are they thin or bushy? All these features will make your self-portrait a little bit more accurate (we are not looking for perfection), you just need a base that you can stylize. You can print it out, and sketch with a marker on top of it.

Step 3: Sketch your self-portrait
Grab your pencil, lightly sketch the basic shapes of your face. Remember what you learned in the last step, and try to draw you and your features on your watercolor paper. Take your time to get the proportions right, and use an eraser to make corrections as necessary. This a space of stylization and experimentation. You can represent your eyes as two dots, draw your nose as a triangle or have your head in a hat if you want to. In this step you can add glasses, earrings and anything you want to have in your final art.
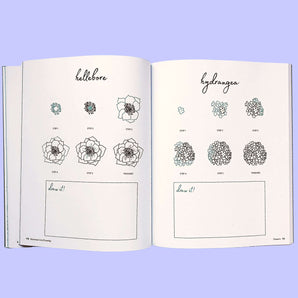
💡 Here are some examples of how you can draw your face features.

Step 4: Paint the base layers with gouache
Using gouache paints, begin to paint the base layers of your self-portrait with a large brush, sizes 8 to 12. Use lighter colors for areas like the forehead, cheeks, and chin, and darker colors for areas like the eyes, nose, and mouth. Keep it simple and just add minimal shadows where the head and neck meet, and some in the ears if you have hair over it. Use a smaller paintbrush for this part of the work.

Step 5: Add details with colored pencils and other media
Once your base layers have dried, use colored pencils or crayons to add details to your self-portrait. I personally like the texture of Colored pencils on top of gouache. You can use it to draw the hair strands, accessories, and details on your clothes. Start with lighter colors and gradually build up to darker colors. You can also use paint markers like Posca to add opaque details on top of what you already have.

Step 6: Add final touches with ink pens
Take your time to refine your self-portrait, and add more detail if necessary. Ink pens, such as the monoline studio pens, are perfect to define face features like the eyes and lashes. I’m using a 0.3, as it’s the medium tip and will not stand out that much on the face.
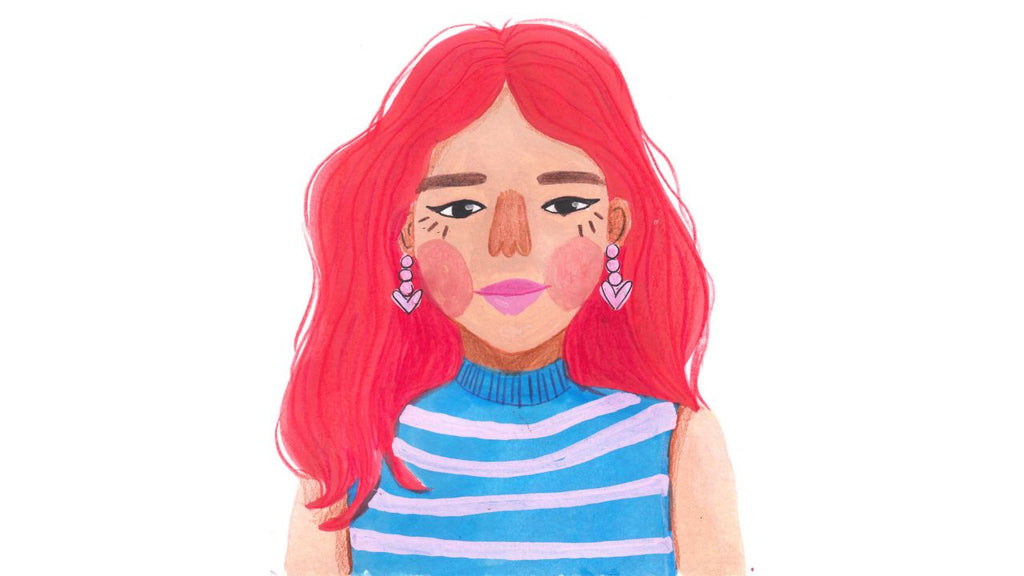
Once you have added all details and are happy with your self-portrait, you are DONE! Creating a self-portrait using Mix Media is a fun and rewarding project that allows you to explore your creativity and capture your own likeness on paper. With these simple steps, you can create a beautiful and accurate representation of yourself that you can be proud of. Remember to tag us @thepigeonletters and @bydoriana.studio on social media, so we can see your creations.

Doriana loves Korean dramas and shows, and will tell you anything you missed about Boys Planet, and why Yoon Jong-Woo should have definitely be part of ZB1.
Connect with Doriana on Instagram 🎨

