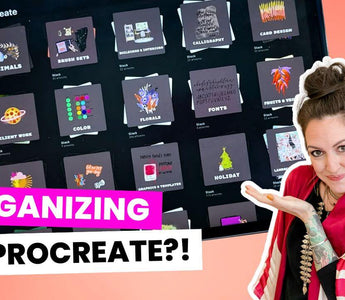
I truly get asked so often about how I organize my Procreate gallery and what the best way is to keep everything tidy so that you can easily find your projects. Today, I'll give you a quick overview of how I like to organize my digital illustration workspace to make it oh-so-easy to jump from one project to another.

After spending hours organizing my gallery, I'm finally at a place where any time I open Procreate I'm ready to work! BOOM!

If you're struggle with organization, let me show you exactly how I set up workspace so you can, too.
Wanna watch the walkthrough?
Here's the thing - when you stack things in Procreate, the name of the stack gets changed every single time which can be quite annoying if you have to keep renaming it. So instead, here what you can do.
Step 1: Create a cover for your stacks
Create a cover image to represent what your stack of artwork is all about. I added an example of the art that will be in the stack, along with text to label it (what I would normally use for the name of the stack itself, but we all know that the minute we add to the stack, it defaults back to “Stack” 🙃).

Step 2: Let's organize!


If you are looking to continue learning or want to dive into other tips and tricks Procreate has to offer, I've got a bunch of tutorials for you riiiiight here.


Hi, I’m wondering how you unstack once something is stacked? I have tried dragging the item to over the <stack text, but that just drops it at the top of the stack rather than in the gallery. Thank you!