Do you have the winter blues? Why not turn those winter blues into a beautiful watercolor a beach polaroid painting?
I love warm weather and the summer months. For me, winter seems to drag on forever. To get through the coldest days, I light a summer-scented candle and sit down to paint pictures of the beach. Follow this tutorial to get all the warm summer vibes and create a vacation-style polaroid painting that chases those blues away.
Prefer watching the video tutorial?
Supplies
- 3.5” x 4.25” watercolor paper
- Pencil
- Ruler
- Washi tape
- Facial tissue such as Kleenex
- Paint palette
- Watercolor paint
- Buff Titanium
- Naples Yellow
- Cobalt Teal
- Indigo
- Raw Umber
- Indanthrene Blue
- Dr. Ph. Martin’s bleed proof white
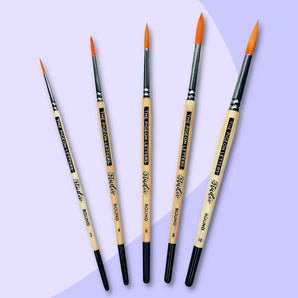
- The Pigeon Letters Paintbrushes

Step 1: Prepare the Paper
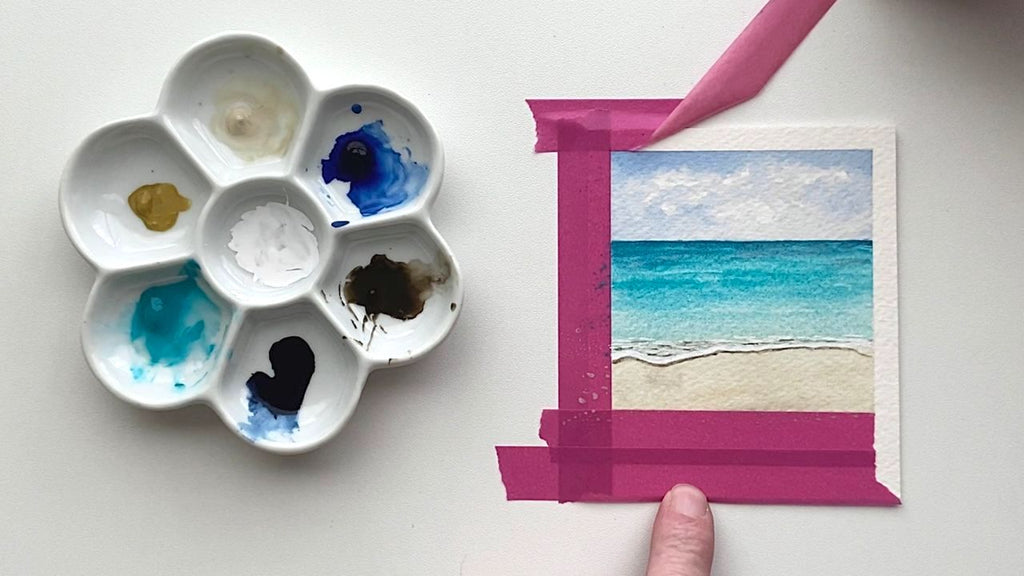
Begin by cutting a piece of watercolor paper to a vintage polaroid size of 3.5” x 4.25”. In pencil, draw a quarter-inch border on the two sides and the top. Draw a one-inch border from the bottom. This should make a three-inch square of painting space. Tape all four sides with washi tape pressing down to prevent paint from bleeding underneath. Using the rule of thirds, draw a horizon line approximately one inch from the top of the square. Add tape under the horizon line with another piece of washi tape.

Step 2: Paint the Cloudy Sky
Paint clean water across the sky leaving a few random dry, unpainted areas. Nex t add Indanthrene blue to the wet parts of the sky. While the paint is still wet, crumple a piece of tissue such as Kleenex and gently blot over both the painted and dry areas to create clouds. Repeat this process as many times as needed until you have a cloudy sky.

Step 3: Paint the Sand
While the sky is drying paint the sand. Use buff titanium for the sand color. Paint the sand darker at the bottom and fade it lighter as you work toward the water. The sand should end about a third of the way up the space in the painting area. Add Naples yellow or raw umber to give the sand some character. Let dry before the next step.

Step 4: Paint the Ocean
Remove the washi tape from the horizon line only. Leave the tape on the edges of the paper and press it down again just to be safe. Using cobalt teal, paint a dark line just under the horizon line. Gradually blend the paint lighter as it reaches and just overlaps the sand. Continue to add layers of paint until a successful blend is achieved.

Add a thin line of indigo blue to the horizon. Always use horizontal brush strokes to blend when painting water. In any landscape, darker paint should be at the horizon to give the painting a feeling of depth.

Step 5: Add that Seafoam
Seafoam is the icing on the cake, or in this case, on the ocean. Add Dr. Ph Martin’s Bleedproof White to the palette. If it is too thick it can be thinned with water. Using a small round brush draw a thick line where the water and sand meet. This will create the edge of the seafoam. Paint small horizontal and diagonal lines just above the line to add more seafoam to the painting. Let dry completely.

Step 5: Shadows
Just under the seafoam add a small, thin line of raw umber using a liner brush. This shadow creates a three-dimensional look to the foam. Add additional shadows in the same way to all other areas of seafoam.

Step 6: Get Creative
Add mountains to the horizon, palm trees to the edges, or shells to the sand. Have fun and think warm summer thoughts.
Step 7: Show It Off
Carefully remove the washi tape from the edges. Peel slowly, away from the painting. Sign the bottom, add places and dates in the margin and show it off!
I hope you enjoyed this tutorial and learned something new. Look for more of my tutorials on The Pigeon Letters site. I love to see what you create! Feel free to tag or contact me on Instagram @katherine.urban.art.

See all of Katherine’s tutorials on the blog!
Katherine is a watercolor artist based in north Texas. As a Florida native, the ocean is a central theme throughout her work. She has loved both art and the ocean for as long as she can remember. Growing up, her favorite place was at the beach or in the water.
Although she's been creating art in one form or another for most of her life, it has only been in the last five years that she has had the time to create art for herself. Watercolor is her escape, her calm moments in her busy life.
In addition to ocean themes, she loves to paint landscapes of nearby farmland. As an artist, she tries to capture the undisturbed beauty of nature, a place where the chaotic world can be forgotten, even if only for a moment.


