If you’re anything like me, your camera roll is filled with photos when you get home from a trip—and they stay there! Today we are going to be using those photos as inspiration to create a fun illustration in the Procreate app. These illustrations can commemorate a moment of your trip, a favorite memory or destination, or simply just something that was enjoyable. So grab your iPad and let’s get drawing!

Supplies:
- iPad & the Procreate app
- The Pigeon Letters Vintage Texture Pack for Procreate
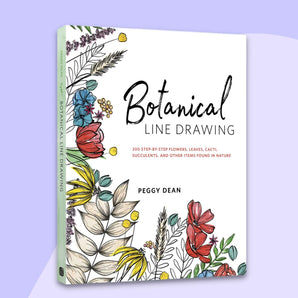
- Travel Adventure Line Drawing by Peggy Dean
Step 1: Choose a travel photo to inspire your color palette and illustration subject

Today, I am going to be paying tribute to something that is very near and dear to my heart: ice cream by the beach. I chose a photo that I took in Capitola, California to inspire my color choices and I will be referencing Peggy Dean’s book Travel Adventure Line Drawing to help me illustrate an ice cream cone. If this book is available to you, I highly recommend browsing for inspiration on your illustration subject. Perhaps a surfboard or lifeguard tower for a trip to the coast, a cabin for a trip to the mountains or a cute diner on your road trip across the US.

There are many ways to use photos for inspiration, but today I am going to ask you to choose a photo specifically to inspire your color palette. A trip to the mountains might call for a palette or browns and greens, where a trip to the beach might call for blues and yellows. I love the candy colored palette that I was able to take from the houses at Capitola.

Open your Procreate app and create a new, 8 x 10 sized canvas. Click on the wrench icon in the top left corner, and then “Insert a photo” to add your travel photo. Using your color picker tool, choose 4-5 colors as your palette. You can adjust these in the color disk if you would like them brighter or more muted.
Once you’ve chose your colors and subject, you’re ready to sketch it out!
Step 2: Sketch your illustration and lettering into Procreate

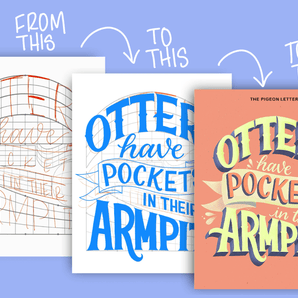
On a new layer, sketch out your design using a sketch brush. I chose to letter “Capitola, California” across the top of my page, in both block letters and cursive, and let the ice cream illustration be the star of the show. You don’t have to letter your destination name, but it’s a fun addition!
Adjust your sketch with the select and lasso tools until you are happy with where they are located.
Step 3: Color in your illustration and lettering using your color palette

Adding layers below your sketch, starting filling in your design with the colors you have chosen for your palette. I will be using The Pigeon Letters Vintage Texture brush pack to complete my illustration because I like the uneven edges and imperfection of the brush strokes. I’ll use the vintage monoline for the illustration, vintage nib for the lettering and then the various “gritty” textures to add depth and interest into the final piece.

Color block in all your shapes before going back through and adding texture. To add shadows to your illustration, create a layer above your shape and select “clipping mask.” Set that layer to “overlay” and then move the opacity down a bit. Select the color black. This will create a shadow that matches the color of your base shape. Using a texture brush, add in some shadows.
Want to draw something else you saw on your travels? Grab the book!

Step 3: Add embellishments and details to your illustration using textures and color

If you want to add contrasting colors and fun textures to your lettering or illustration, add a layer above the selected shapes and chose “alpha lock.” This will allow you to add textures or details while being able to change their color or move them around.
For example, I used a texture brush to add yellow and dark blue details to the word Capitola. For the orange drop shadow, I hit “Duplicate” on my block letter layer. I selected “alpha lock” and changed the color to orange. Then using the “select” arrow tool, I grabbed the word and dragged it slightly down and to the right.
The possibilities on this section are literally endless! Add (or subtract) details until you accomplish the vibe that you’re going for in your final piece. I think I changed the color of my ice cream cone about 35 times before I was satisfied!

I hope you enjoyed taking a quick trip through memory lane with me today! This is such a fun was to memorialize a trip or event, and I hope you enjoyed it! Please share your creations with me if you post them on social media! I would love to see what you create!

While she spends her days (and nights) in the trenches of parenting, Julie somehow finds time to create art and loves to share it with you! She loves when art reminds her of life: weird and wonderful.
Connect with Julie on Instagram 🎨


